
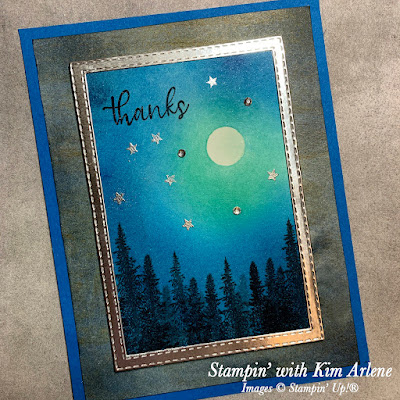

- Cut the following layers:
- Pacific Point cardstock: 8-1/2" x 5-1/2", scored at 4-1/4"
- In Good Taste Designer Series Paper (DSP): 4" x 5-1/4" (wood grain)
- Silver Foil Specialty Paper: 3-1/4" x 4-1/2"
- Shimmery White cardstock: 2-7/8" x 4-1/4"
- Basic White: 4" x 5-1/4" (for inside)
- Use Blending Brushes to add some Misty Moonlight ink to the woodgrain DSP. Adhere the DSP to card base with Seal.
- Cut a frame from the silver foil, using the third and fourth largest Stitched Rectangles Dies.
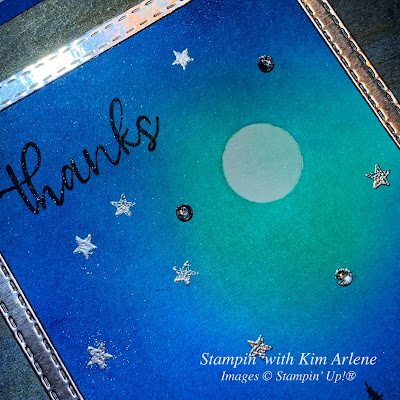
- Cut a 1/2" circle from the sticky part of a Post-it note with a punch, or the die from Inspiring Canopy Dies; place it on the Shimmery White piece to use as a mask to make the moon.
- Apply ink to the Shimmery White piece with Blending Brushes, starting around the Post-it circle, and adding colour in overlapping rings toward the outer edge. Start with Bermuda Bay, then Pacific Point, and finish with Misty Moonlight. Remove the Post-it circle, and apply a little Pool Party ink to the moon.
- Ink one of the stars from Sweet Little Stockings with Versamark, stamp several stars, add silver embossing powder, and set with a heat tool.
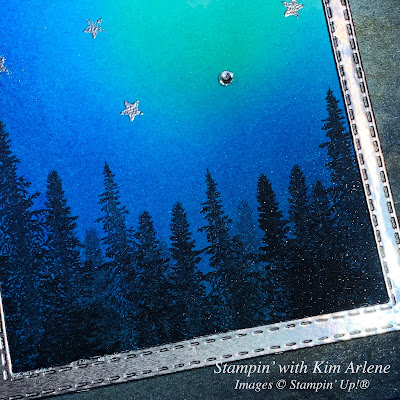
- Stamp sentiment (from Simply Succulents) in Tuxedo Black Memento, and stamp several trees from Mountain Air, stamping off some of them to represent trees in the background.
- Glue silver frame to Shimmery White piece with Seal. Adhere to card base using Dimensionals.
- Add three Rhinestone Basic Jewels.
Thanks so much for stopping by--and for voting!!! If you like my card, please click here--then remember to click on the top right corner of the thumbnail of my card (#4) until the heart turns red--that way you know that your vote is registered:
If you live in Canada and do not have a Stampin' Up! demonstrator,
Thank you very much for visiting my blog,
and for your support!! 😊
❤️ Kim
 |  |  | ||
 Pool Party Classic Stampin' Pad [126982] $8.50 |  Bermuda Bay Classic Stampin' Pad [131171] $8.50 |  |  | |
 |  | |||
 |  |  |  |  |


