

Hello, and thanks for stopping by and checking out my blog post for Kylie and Bruno Bertucci's Demonstrator Training Blog Hop! I made this card with our By the Bay Suite Collection, which I just love!! THIS IS THE LAST DAY to sign up for the By the Bay Suite Online class that I am co-hosting with the very talented Lori Willcox!! You absolutely won't want to miss this class!
 |
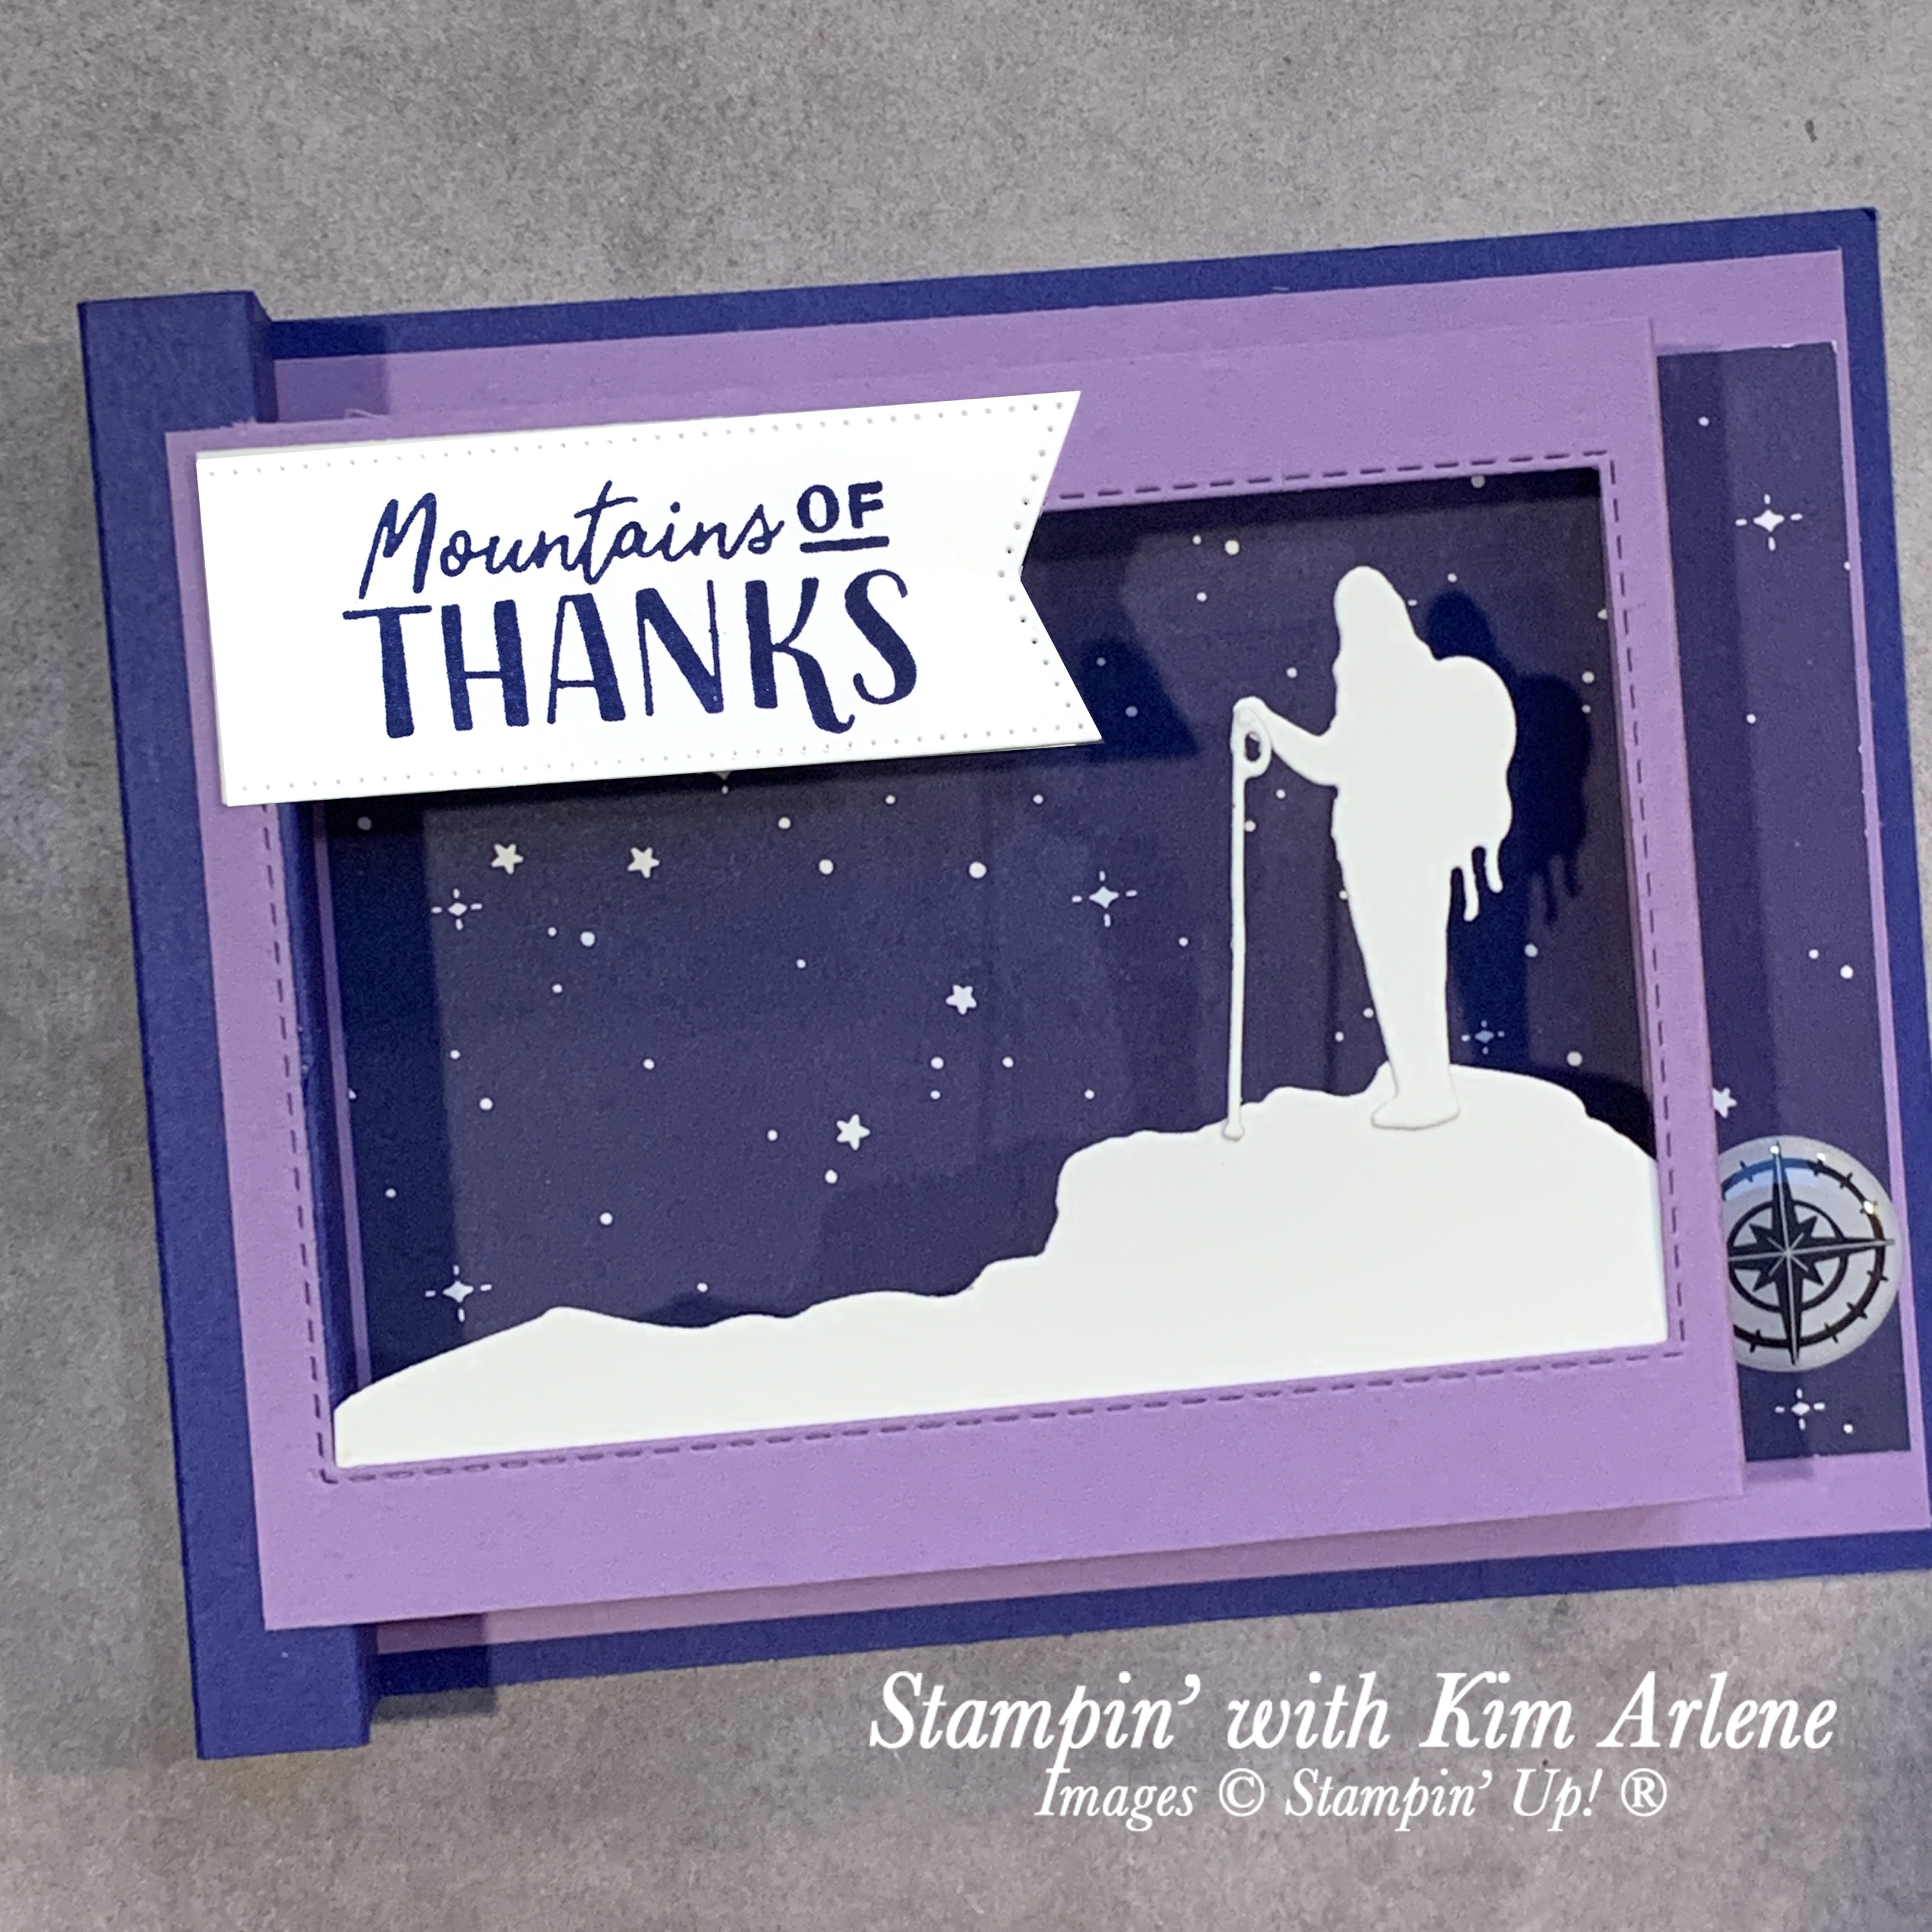
I made this card in a recent Mystery Stampin session, and
I love how it turned out! |
You will make 12 cards (two each of six designs)! We won't be making this card in the class, but you'll be able to make it (or one very similar) using the products from the suite. If you live in Canada, the class, 12 Make & Take card kits, unlimited exclusive access to our Facebook group, written tutorial directions, and more are FREE with the purchase of the suite. If you live outside Canada, we have an option for you, too! See all details and register below! Directions for this card are near the bottom of this blog post.
 |
You can use the dies in this set to not only cutout stamped images,
but many of the shells, birds, crabs, and mussels on the DSP!! |
Be sure to check out all of the beautiful creations in our blog hop here:
LAST DAY to Register for Our By the Bay Suite Online Class!
Lori Willcox and I are very excited to bring you our first collaboration with our By the Bay Suite Online Class! Join us at 10:00 am PST on Saturday, March 4th to make 12 cards (2 each of 6 designs) with this GORGEOUS suite! There will be LIVE sessions between 10:00 am and 2:30 pm PST (including 6 project presentations, some info on current promotions, and prize draws) which you can watch from anywhere in Canada (see Choice #3 below for non-Canadian residents).
To participate in our class sessions, you will need inks, adhesives, a paper trimmer to cut your Designer Series Paper, and a die cutting machine such as our Stampin’ Cut & Emboss Machine.

Included are:
- 12 card kits (2 each of 6 designs) including all cardstock, envelopes, and any die cuts not included in the Seaside Bay Bundle
- Membership to an exclusive Facebook group
- 6 LIVE video presentations - these will be recorded so you can watch again and again
- 6 written tutorials in a printable PDF
- Entry into our Prize Draws!
Choice #1: Get all of the above FREE with the purchase of the By the Bay Suite Collection (160450) for a total of $120 + shipping/taxes from my online store. You will also get to chose 2 FREE Level 1 Sale-a-bration items (or one Level 2 item) with your order!
Order as soon as possible to be sure to get your order in time (with less chance of backorders), but no later than February 13th!
Choice #2: If you already own the Seaside Bay Bundle, you can choose this option and get the 12 card kits, Facebook videos and PDF tutorials, as well as the By the Bay 6” x 6” Specialty Designer Series Paper, the Balmy Blue & White ½” Variegated Ribbon, and the Flat Adhesive-Backed Pearls for $75! For Choice #2, register and etransfer as soon as possible below (to avoid backorders), but no later than February 13th!
Choice #3 (for non-Canadian residents only): For $22 CAD (roughly $16.50 USD), you will have access to the videos and PDF tutorials, and can join us in our exclusive Facebook group! Register below by March 1st and I’ll send you a PayPal invoice!
Card kits will be mailed by February 20th. We know that shipping times can vary these days so there is a slight possibility that they will arrive after the class. If so, you can still enjoy the class with us and put your card kits together afterwards! You can also pick up your package from my home.


Full Directions for my By the Bay Thank You Card:
- Cut the following layers:
- Thick Basic White cardstock: 4-1/4" x 5-1/2"; 1" x 3", scored diagonally
- Basic White cardstock: 3" x 3" (die cut with second largest Stylish Shapes circle)
- Night of Navy cardstock: 4" x 10-1/4", scored at 5-1/4" and 7-3/4"
- By the Bay DSP: 3-3/4" x 5"; 3-3/4" x 2-1/4"; die cut the bird from a piece of DSP
- Burnish folds on Night of Navy piece and fold into a Z-fold, as shown.
- Adhere Z-fold to Basic White card base, so that there are equal margins all around, and small section is at front.
- Adhere DSP to first and third panels as shown.
- Wrap 16" of Balmy Blue & White 1/2" Variegated Ribbon around front panel and tie into a bow.
- Stamp Shells and texture on circle with Sahara Sand.
- Add some Balmy Blue to the top of the circle with a Blending Brush.
- Adhere bottom half of circle with Dimensionals to the front panel.
- Adhere the bird with Dimensionals to the left edge of the circle.
- Burnish the diagonal fold on the 1" x 3" Thick Basic White cardstock layer. Glue one of the triangles--with the wide part at the top--to the back of the card base so the fold is vertical at the centre of the base, and the wide part of the other triangle is at the bottom of the card base and extended out to form a stand for the card.
I'd love for you to comment below, if you have a moment. 😊


")


")
 Designer Series Paper")


")


 Specialty Designer Series Paper")
 Variegated Ribbon")


")


