Monday, March 7, 2022

Waves of the Ocean Thank You Card


Hello!! Thanks very much for stopping by! It's time for Kylie Bertucci's March International Blog Highlights contest! I hope that you like my card, and will vote for mePlease click on the button below to go to Kylie's blog, and vote by clicking on the top right corner of the thumbnail of my card (#2), until you see the heart turn red. Thank you so much for your support!!


We have a brand-new suite called Waves of the Ocean, and it is gorgeous!! I love creating with these products--the results are stunning!! Although the Waves of Inspiration stamp set and the Waves dies will be in our upcoming Annual Catalogue, the Waves of the Ocean Designer Series Paper (DSP), Blue Foils Specialty Paper, and Rhinestone Waves Basic Jewels are available only while supplies last. I really don't foresee them lasting long! So, if you love these products as much as I do, don't wait to order them! If you live in Canada and don't have a demonstrator, I'd love to be your Stampin' Up! demonstrator!


I had fun making this Z-fold card! I layered the wave die cuts, glued them to a piece of DSP, and then fussy cut the wave. I stamped the pelican in Smoky Slate, then coloured it and the pilings using Stampin' Blends. I used Post-it notes to mask the pelican, cover the sky and make a hill of sand, which I coloured with Crumb Cake and Sahara Sand using a Blending Brush, adding some texture with a stamp from Oceanfront. The sky was also inked with Blending Brushes. Full directions are below.

I masked the sand, pelican, and sun before applying ink
to the sky with Blending Brushes. (Step #4)

Thanks so much for stopping by--and for voting!!! If you like my card, please click here--then remember to click on the top right corner of the thumbnail of my card (#2) until the heart turns red--that way you know that your vote is registered:


  1. Cut the following layers:
    • Coastal Cabana cardstock: 11" x 4-1/4"--scored at 2-3/4” and 5-1/2"; 2-1/2" x 3/4"
    • Pacific Point cardstock: 10-3/4" x 4"--scored at 2-5/8" and 5-3/8"; 2-1/2" x 1/4"
    • Shimmery White cardstock: 10-1/2" x 3-3/4"
    • Waves of the Ocean Designer Series Paper (DSP): 5-1/4" x 2-3/4"
    • Blue Foils (Coastal Cabana): 5-1/4" x 2-3/4"--die cut with Wave die
    • Supple Shimmer Specialty Paper (Pool Party iridescent): 5-1/4" x 2-3/4"--die cut with Wave die
    • Basic White cardstock: 5-1/4" x 4" (for back)
  2. Stamp the pelican in Smoky Slate. Colour the pilings with Crumb Cake Stampin' Blends, and colour the pelican in Smoky Slate Stampin' Blends. 
  3. Cut a Post-it note to cover the sky and form the sandbank, and to mask the pilings and pelican (stamp on the Post-it note, and then cut out the shape). Apply ink to Shimmery White piece (Crumb Cake at top, then Sahara Sand) with a Blending Brush, and then stamp some texture (from Oceanfront) in Sahara Sand. Stamp the grasses in Mossy Meadow and Old Olive.
  4. Remove the sky Post-it notes (keep the pelican/pilings note attached) and cover the sand with "negative" of the sky Post-it notes. Cut a 1" circle (sun) from a Post-it note, and add to sky. Use Blending Brush to apply ink (Daffodil Delight, Pale Papaya, Fresh Freesia, Pool Party, Balmy Blue, and Pacific Point) in overlapping circles around the sun, filling in all of the sky (except pelican and pilings, which should be masked). Stamp "You're so totally awesome" sentiment 5-7/8" from left edge in Pacific Point and birds (from On the Horizon and Waves of Inspiration) in Basic Grey. Add another Post-it note, covering the sky, at the water line. Apply Coastal Cabana ink to water with Blending Brush, and then stamp with wave stamp in second generation (stamped-off) Pacific Point. Remove note from sun, and apply a small amount of Daffodil Delight ink to the white circle.
  5. Stamp "Thanks" sentiment in Pacific Point on Coastal Cabana strip, die cut with label die. Thread 1/4" strip of Pacific Point through hole, cut banner edge, and adhere to label. Cut left edge of label, and add to card front with Dimensionals.
  6. Adhere the wave die cuts to the DSP. Fussy cut the wave. Score only the bottom part of the wave 2-1/2" from the left edge. Score the Shimmery White at 2-1/2" and 5-1/4". Adhere to the to card front, being sure NOT to adhere the top of the wave to the Shimmery White. Adhere layers together, and gently burnish folds.
  7. Add three Rhinestones Waves Basic Jewels.
  8. Adhere Basic White cardstock to back of card for hand-written sentiment. 


If you live in Canada 🇨🇦 and do not have a Stampin' Up! demonstrator, I would love to be your demonstrator! Shop here! 😊


Thank you very much for visiting my blog,
and for your support!! 😊


Product List

Monday, February 28, 2022

LAST CHANCE FOR FREE SALE-A-BRATION REWARDS!! Ends February 28th at 10:50 pm PST!

Here is a fun-fold card I made yesterday, using our FREE Sale-a-Bration Daffodil Afternoon paper (#158127). 


This was a Mystery Stamping card completed in our team meeting. I am happy with how it turned out! 


If you're interested in earning FREE Sale-a-Bration rewards, today is your last chance!! This promotion ends tonight (February 28th, 2022) at 10:50 pm PST!!

Live in Canada? 🇨🇦 Check out the free items you can earn with a $60 purchase in my online store. Use this link to purchase, and receive a gift from me!


Tuesday, February 15, 2022

Brand New Kit--Celebrate Today Magnet Board Kit


 We have a fantastic new kit that I'm sure you'll love!!

Celebrate Today Magnet Board Kit

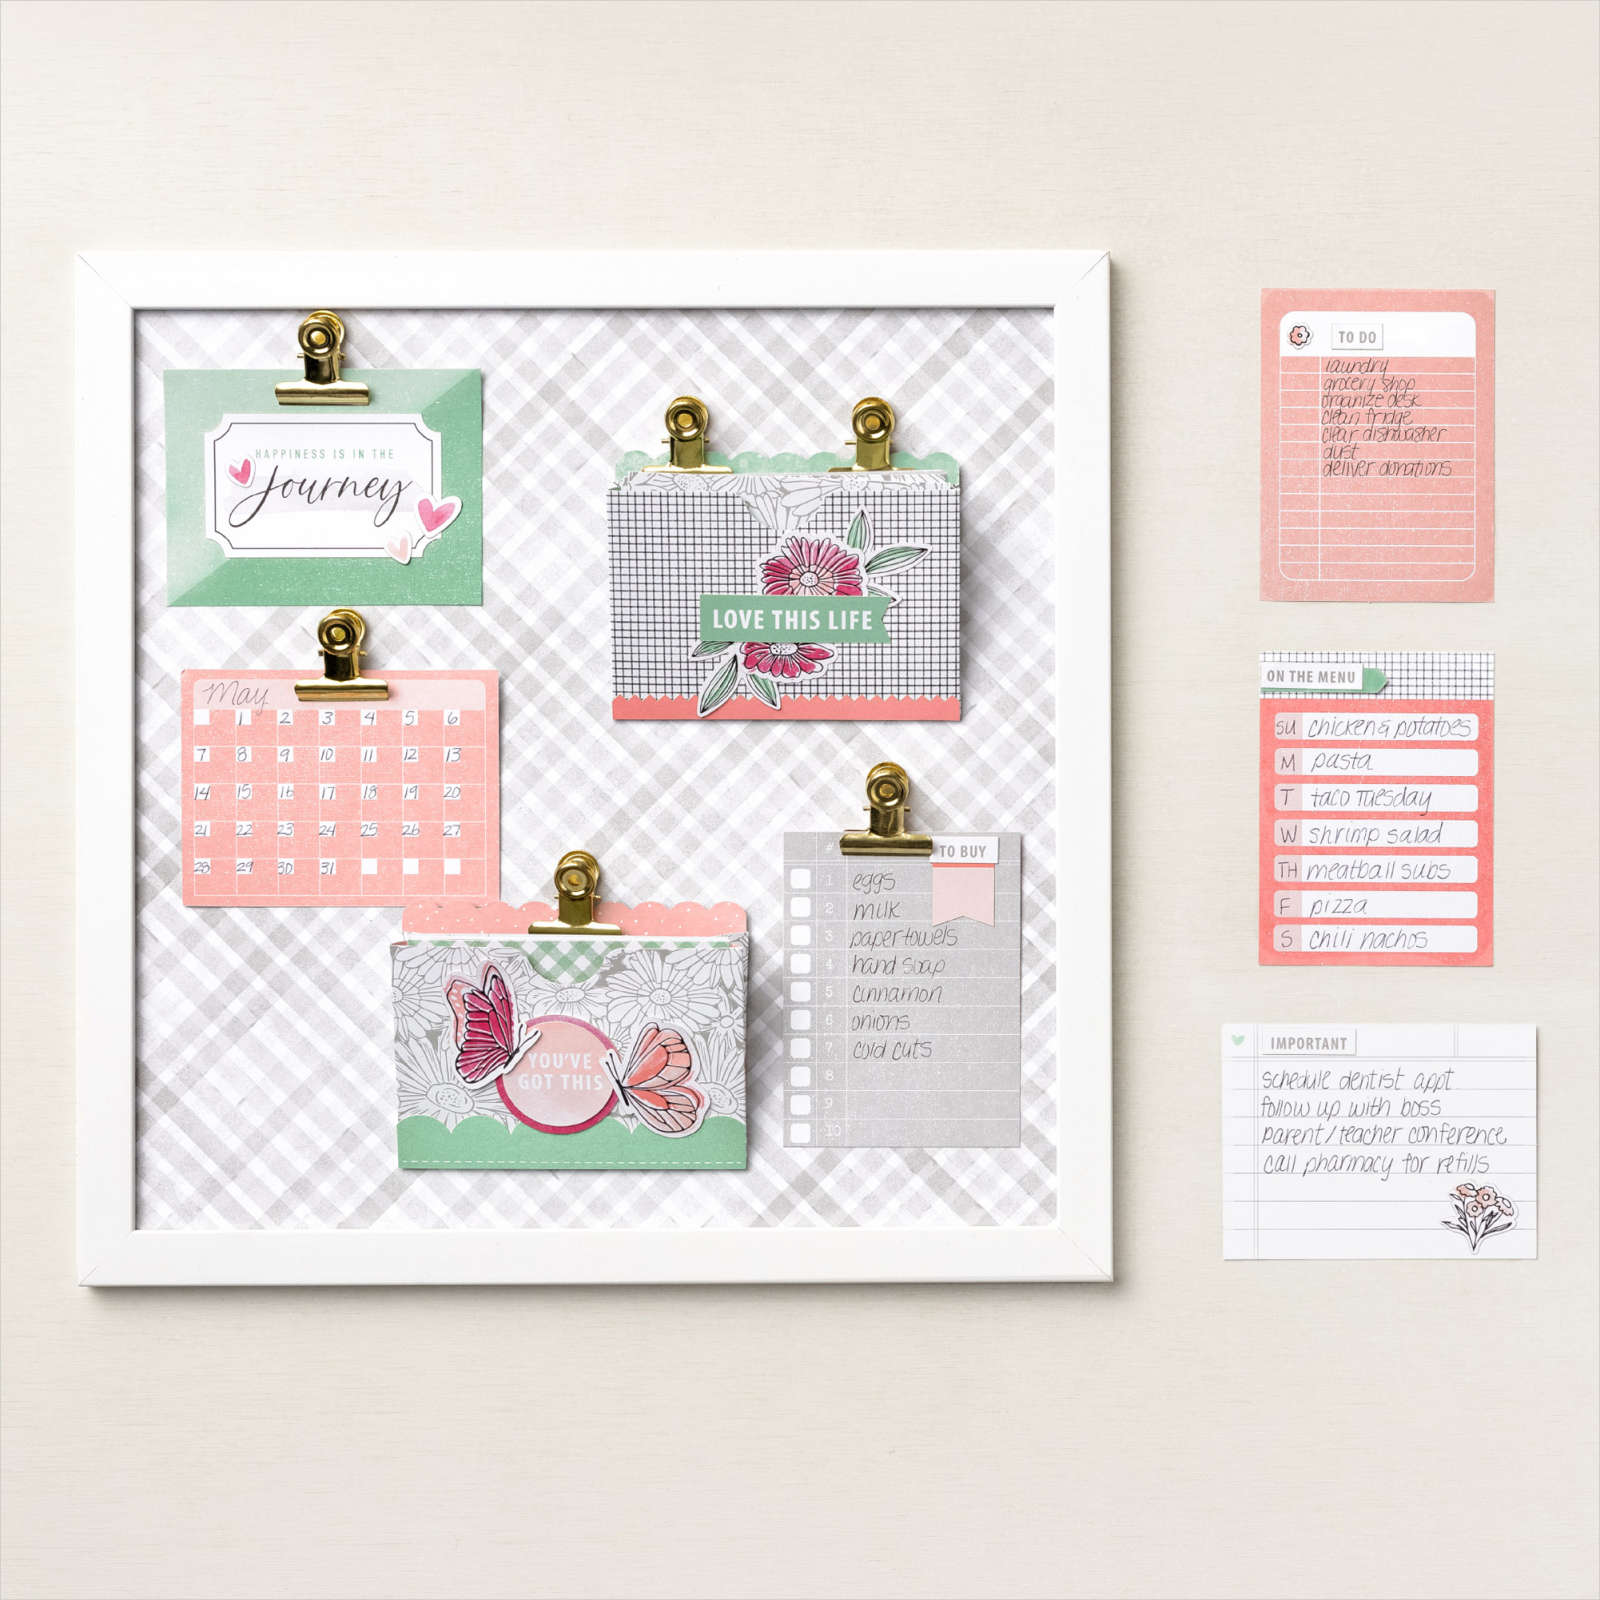
Bring the fun of crafting into your everyday with the Celebrate Today Magnet Board Kit! It's the perfect blend of creativity, beauty, and functional home decor.

The Celebrate Today Magnet Board Kit includes supplies to create a magnet board designed to organize aspects of your daily life in a beautiful way. With interchangeable messages, backgrounds, and envelopes, you can decorate your magnet board to best suit your style and needs!

Order from my Online Store:

Live in Canada? Use this month's Host Code (KVM44ZMA)
when you order from my online store, and receive a gift from me!!

www.craftyperson.com


VIEW OUR KITS ONLINE

Celebrate Today Magnet Board Kit

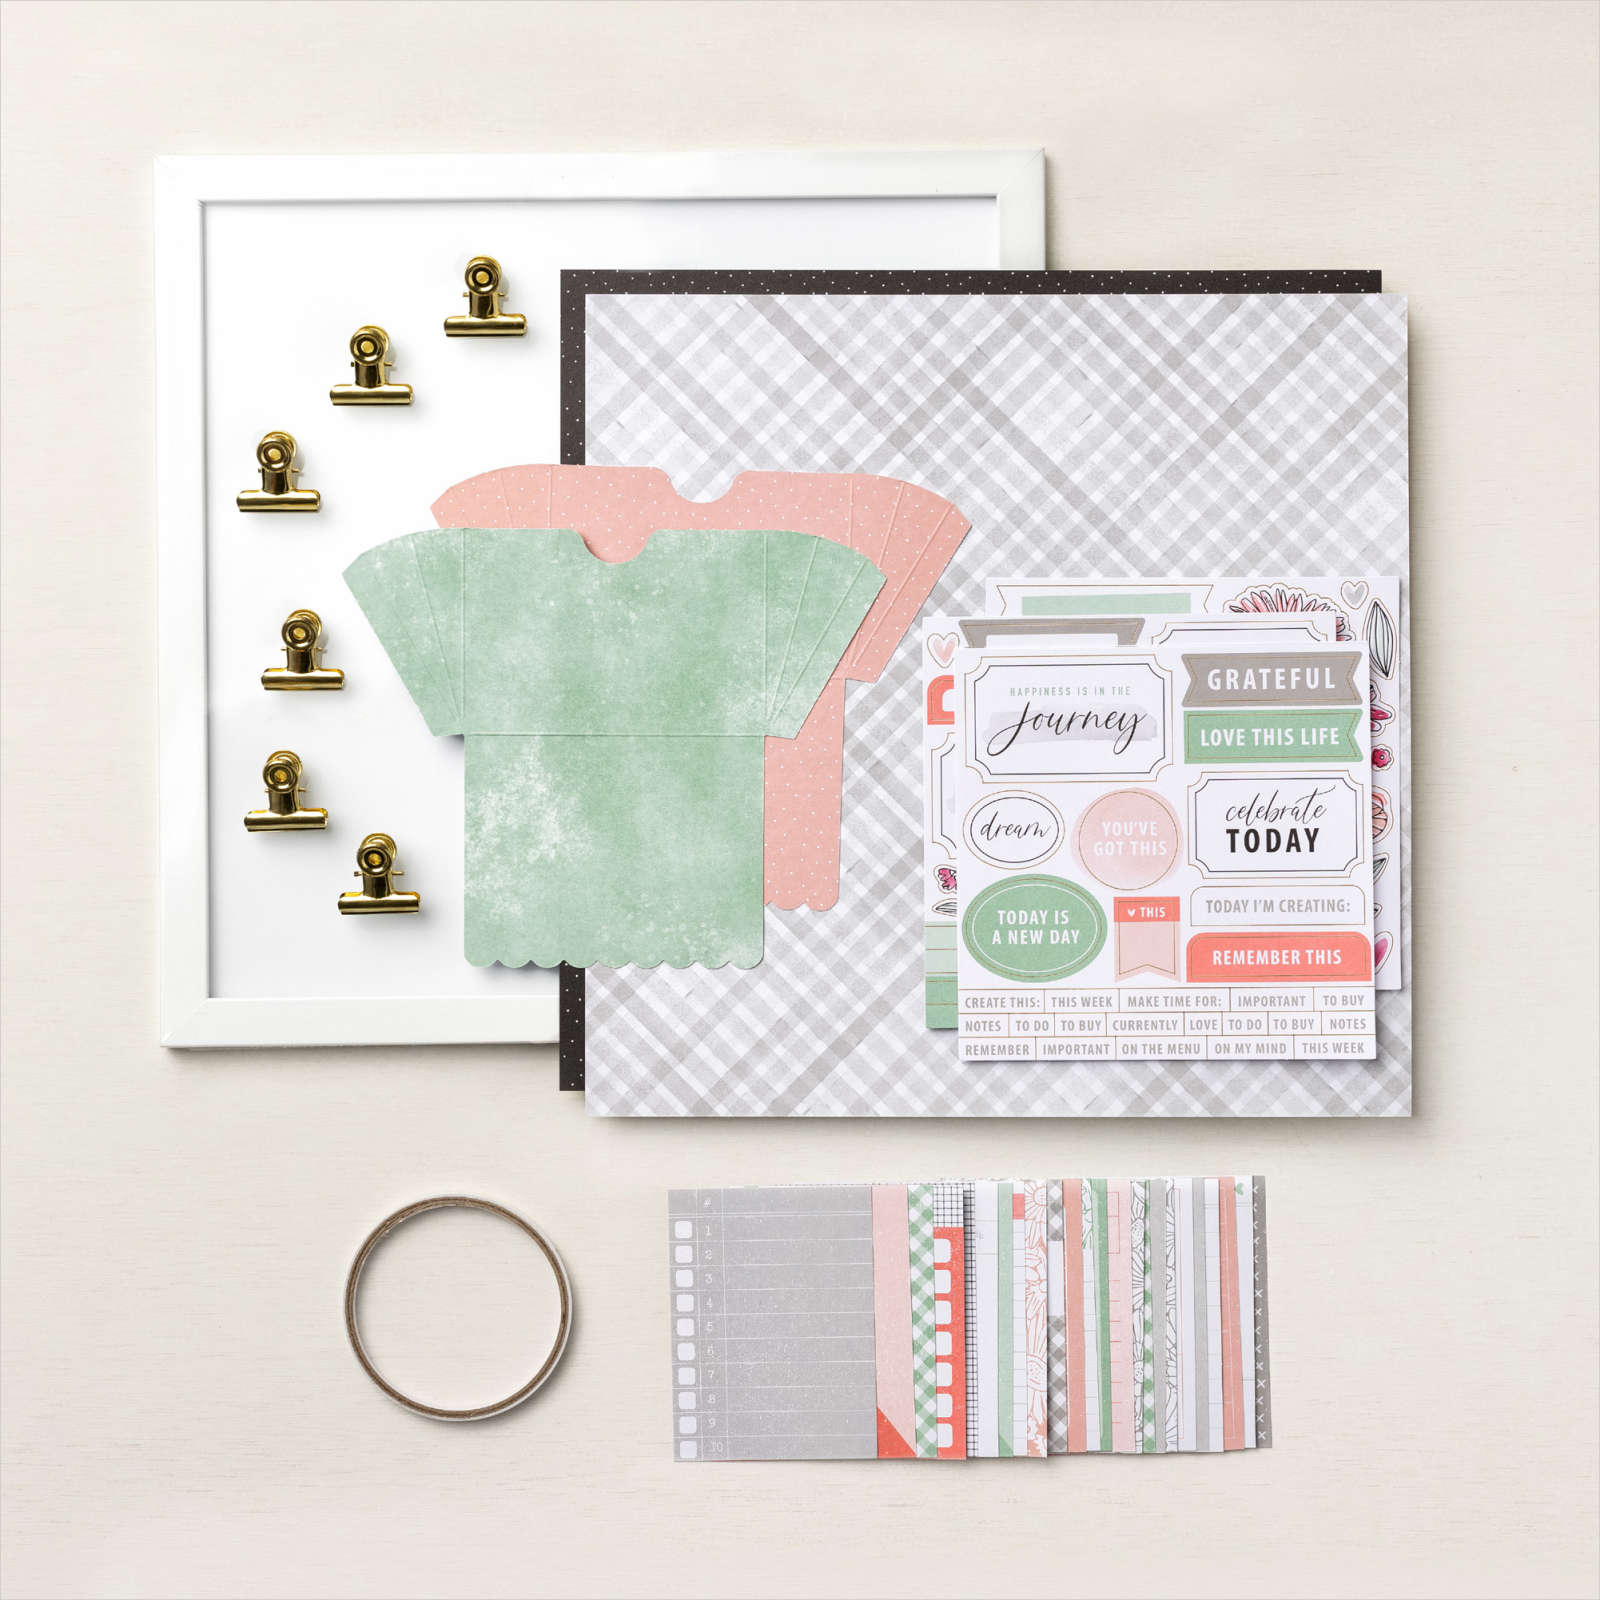
Kit includes:

* Pre-designed projects
* Step-by-step instructions
* Pre-cut pieces (No prep work! Get right to crafting)
* Makes 1 framed magnet board
* Enough adhesive to complete projects
* Includes 6 magnet clips
* Includes 2 image sticker sheets and 4 sentiment sticker sheets (1 each for the following languages: Dutch, English, French, and German)
* Includes 24 double-sided 4" x 3" (10.2 x 7.6 cm) cards
* Includes 2 sheets of 12" x 12" (30.5 x 30.5 cm) paper
* A 9-7/8" x 6-1/2" x 2-3/4" (25.1 x 16.5 x 7 cm) printed designer box for storage or crafting on the go
* Coordinating colours: Basic Black, Blushing Bride, Flirty Flamingo, Melon Mambo, Mint Macaron, Smoky Slate

Kits Collection by Stampin’ Up! kits are perfect for new crafters, busy crafters, or crafters who want quick and easy projects. Of course, avid crafters can add their own personal spin to kits, too!

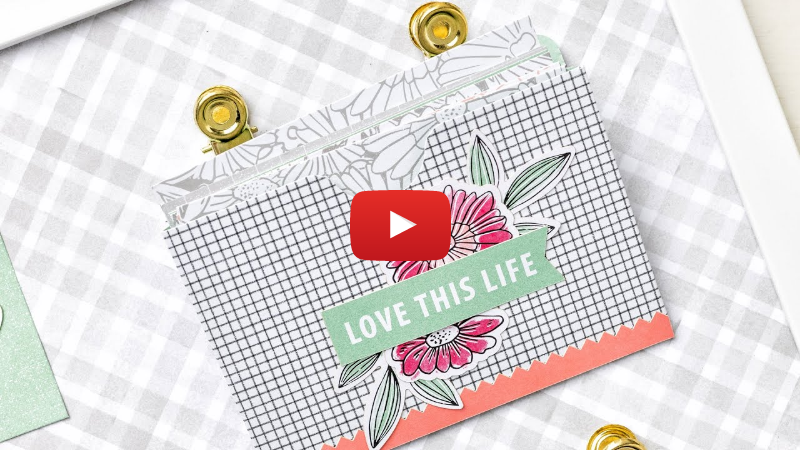
All-inclusive project kits have everything you need in one box! Give as a gift or try them yourself. Kits are based on availability, so don't miss outorder today! Check out this video to see one of these magnet boards being assembled!


Celebrate Today Magnet Board Kit

Thanks very much for supporting my small business!! 😊

❤️ Kim

Monday, February 14, 2022

West Coast Creators Blog Hop - Oceanfront Card


Welcome to the February West Coast Creators Blog Hop!! This month we are featuring products from our January to June Mini Catalogue. If you don't have this, there is a link to the catalogue PDF in the right sidebar. We are also celebrating Sale-a-Bration--Stampin' Up!®'s best promotion of the year--but just until February 28th, so don't miss it!! 

 
Did you know that you can get FREE products with every $60 purchase (before taxes and shipping) during our special Stampin' Up® promotion? And, you can earn as many free products as you like! With a $120 purchase, you can choose two free products, etc. There are lots of gorgeous stamp sets and Designer Series Paper (DSP) packages to choose from! We also have a choice of two Level 2 products that you can earn with a $120 order. 


For this card, I used the Oceanfront stamp set. This is one of our "Distinktive" stamp sets, which has a special texture that gives added depth and dimension in a single step, creating photo-realistic images. I love the beautiful watercolour effect that you can get just by stamping! Other than the fence (which is cut from our Horizon Dies), this card is simply stamped. I used Sponge Daubers to apply Pale Papaya, Highland Heather, and Balmy Blue to the sky; Coastal Cabana and Pacific Point to the water; and Sahara Sand and Crumb Cake to the sand.


The sentiment and birds (both from On the Horizon) were stamped with Basic Gray, and the grass was stamped with Old Olive and Mossy Meadow. As I mentioned, the fence was cut with the Horizon Dies, using a piece of wood-grained Designer Series Paper from In Good Taste.

Directions:
  1. Cut the following layers:
    • Highland Heather cardstock: 8-1/2" x 5-1/2"--scored at 4-1/4"
    • Pacific Point cardstock: 4" x 5-1/4"
    • Shimmery White cardstock: 3-13/16" x 5-1/16"
    • In Good Taste DSP: 4" x 2"--for fence
  2. Apply Pale Papaya, Highland Heather, and Balmy Blue ink to sky stamp, and stamp on Shimmery White cardstock, using a Stampin' Pierce Mat below cardstock.
  3. Ink the water stamp with Coastal Cabana ink pad, then use Sponge Dauber to apply Pacific Point to top and right side of water, then stamp below sky, using a Stampin' Pierce Mat below cardstock.
  4. Ink the sand stamp with Sahara Sand ink pad, then use Sponge Dauber to apply Crumb Cake to top and right side of sand stamp, then stamp below water, using a Stampin' Pierce Mat below cardstock. Add some Crumb Cake with texture stamp.
  5. Stamp sentiment and birds in Basic Gray.
  6. Stamp grass in Mossy Meadow and Old Olive.
  7. Die cut fence; add a thin strip of Dimensisonals to the outer posts, use multipurpose liquid glue to adhere inner posts.
  8. Wrap 16" of Linen Thread twice around Shimmery White layer, and tie into a bow.
  9. Adhere card front to Pacific Point layer; adhere to Highland Heather card base.

Thank you so much for stopping by! If you have a moment, please leave a comment below. Then be sure to visit all of the blogs below to see some amazing creations from our talented West Coast Creators!!

You are invited to the Inlinkz link party!

Click here to enter


Product List
Horizon Dies
[157778]
$45.00

Holly Jolly Branches "From Me to You Card"

I made this card using the beautifully curated collection of products  (which I just love!) that  we are using for our Holly Jolly Branches ...